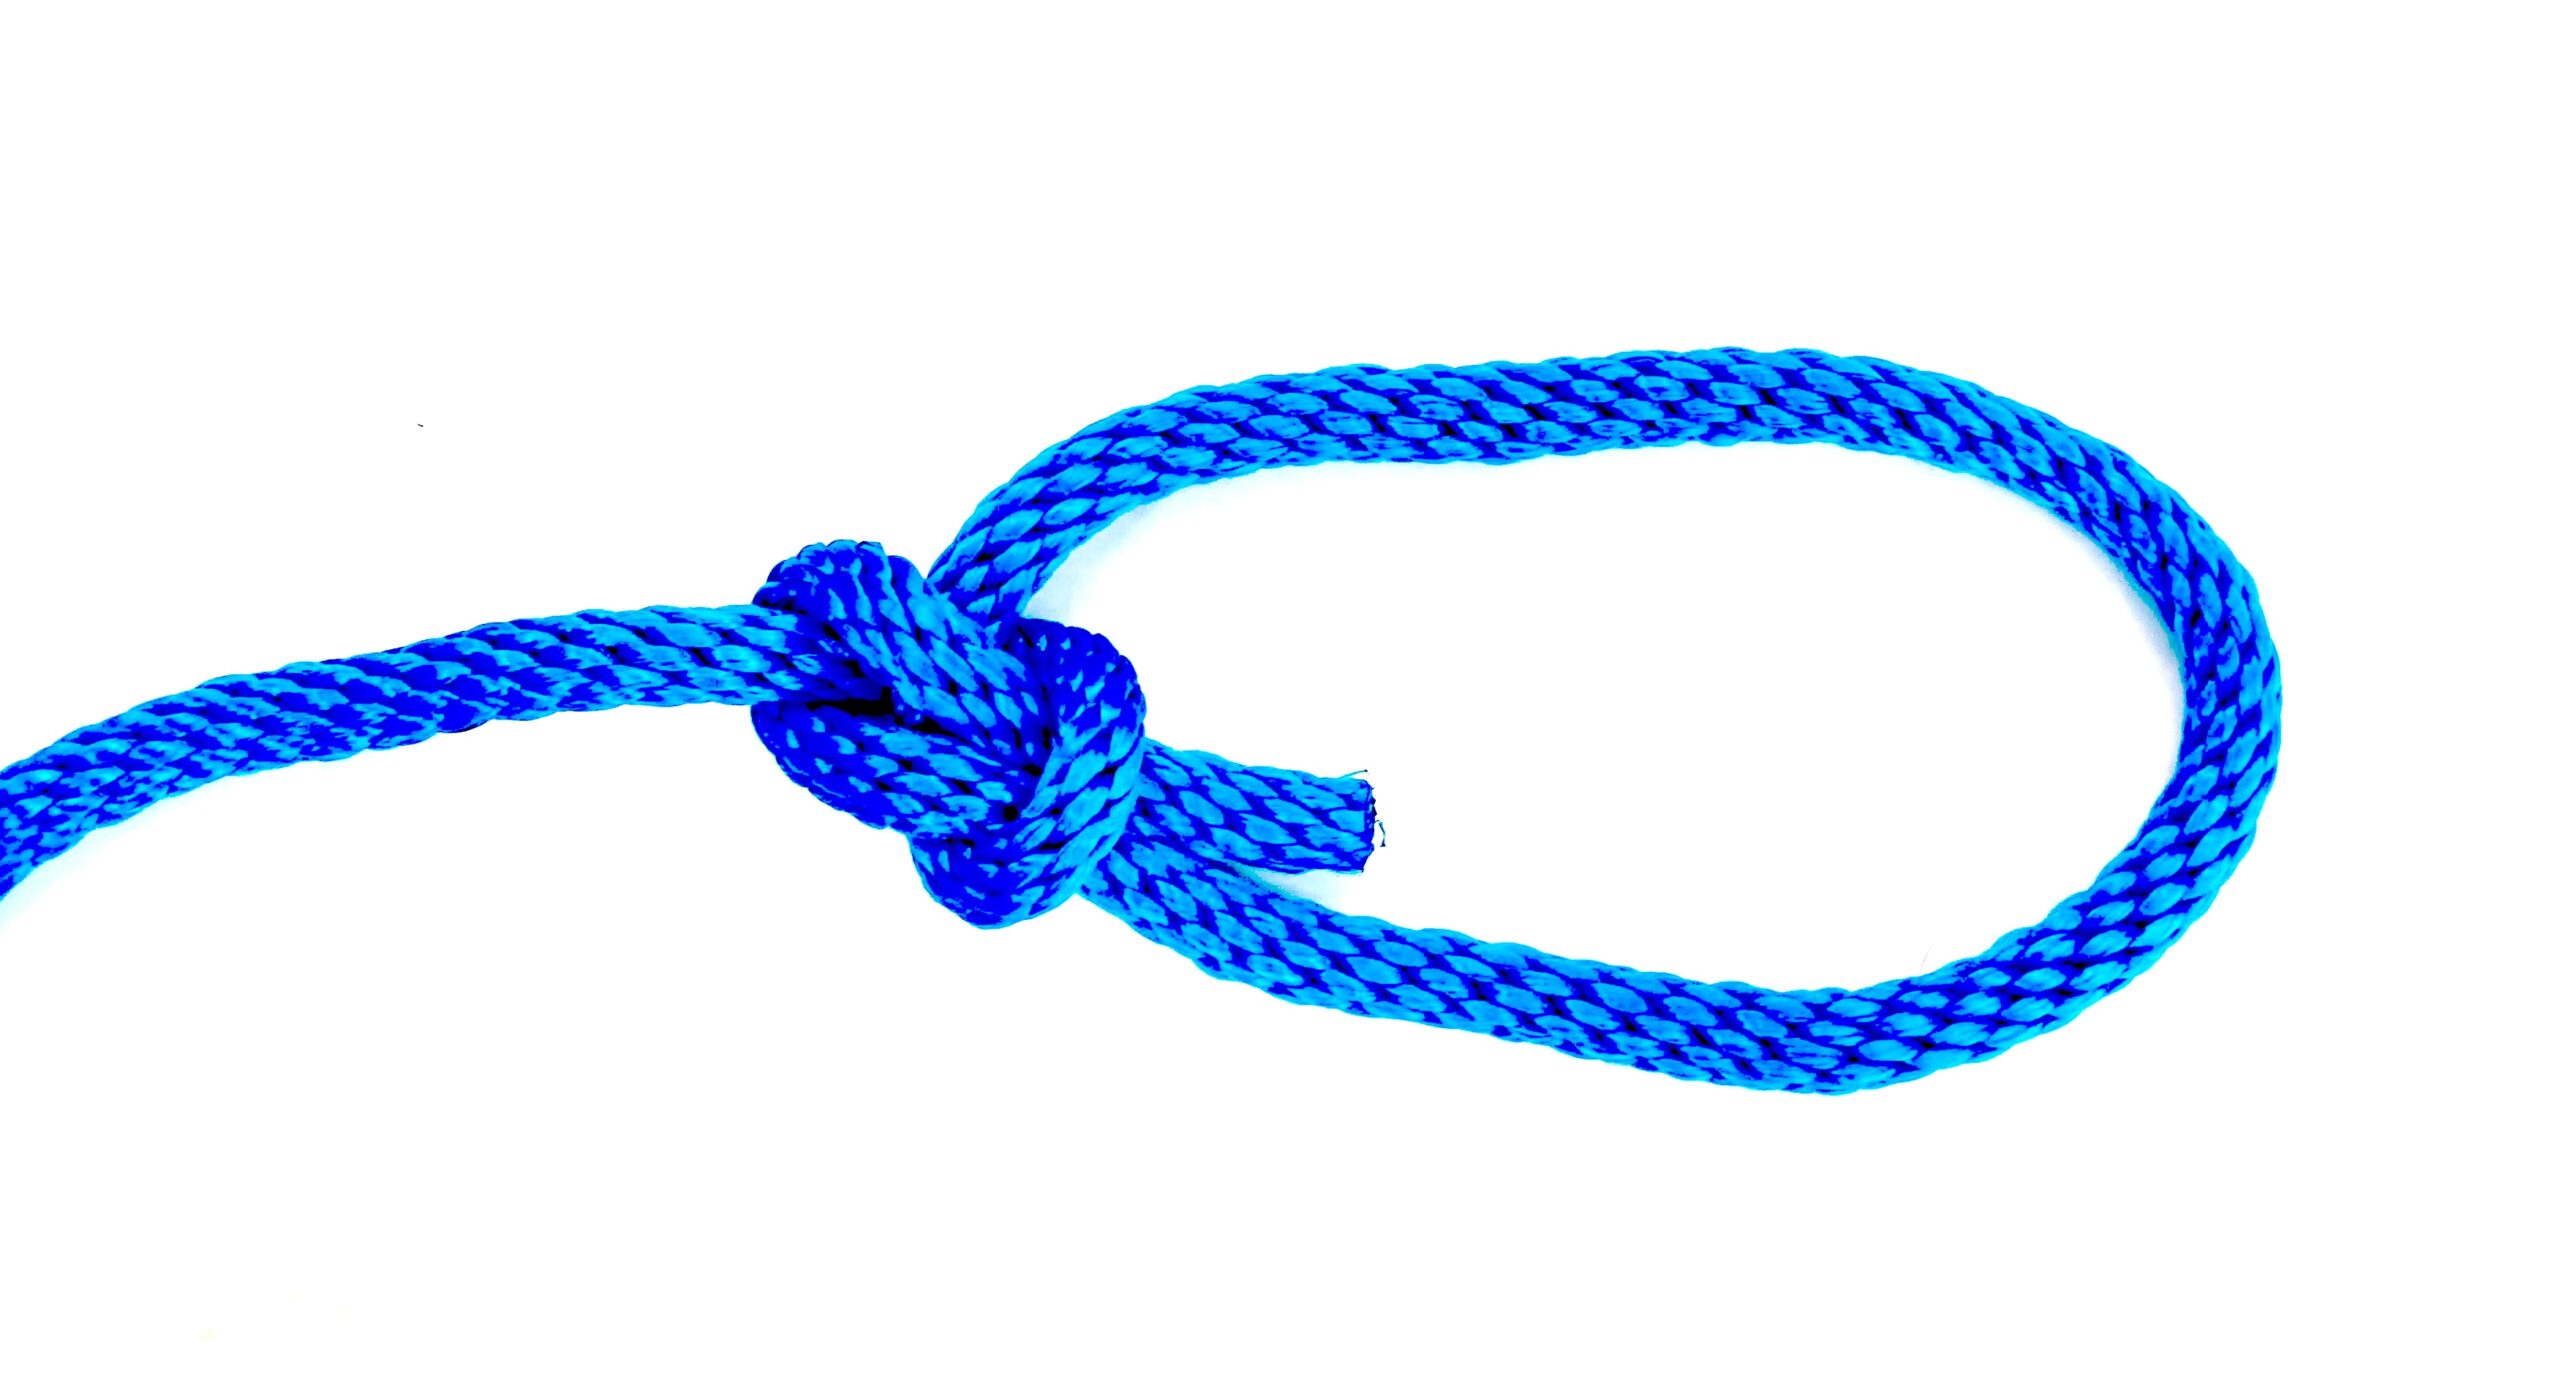
Learn to tie a bowline – this is a knot that is known for its reliability, strength, and ease of untying, even after getting wet or being subjected to a load. The bowline knot is often referred to as the “king of knots” because of its importance and versatility. This is a basic knot that everyone should know how to tie. Here’s how to tie a Bowline:
Make a Loop
First, you should create a small loop in the rope, leaving enough tail to form the rest of the knot. You can call this loop the “rabbit hole”.
Thread the Tail
Then, you will pass the working end (the “rabbit”) up through the loop from the underside.
Around the Standing “Tree”
Next, you will wrap the working end around the standing part of the rope (the “tree”) from the back to the front.
Thread the Tail
Then, you will pass the working end (the “rabbit”) up through the loop from the underside.
Back Down Through the Loop
Finally, pass the working end back down through the loop (the “rabbit hole”) from the top.
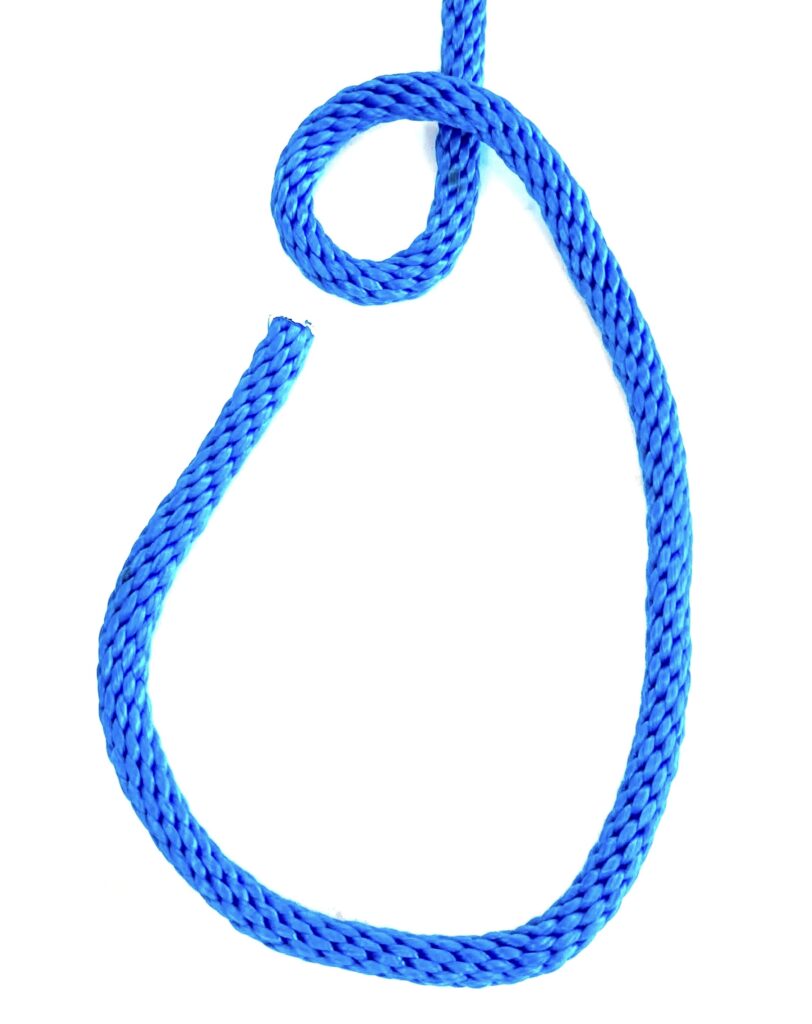
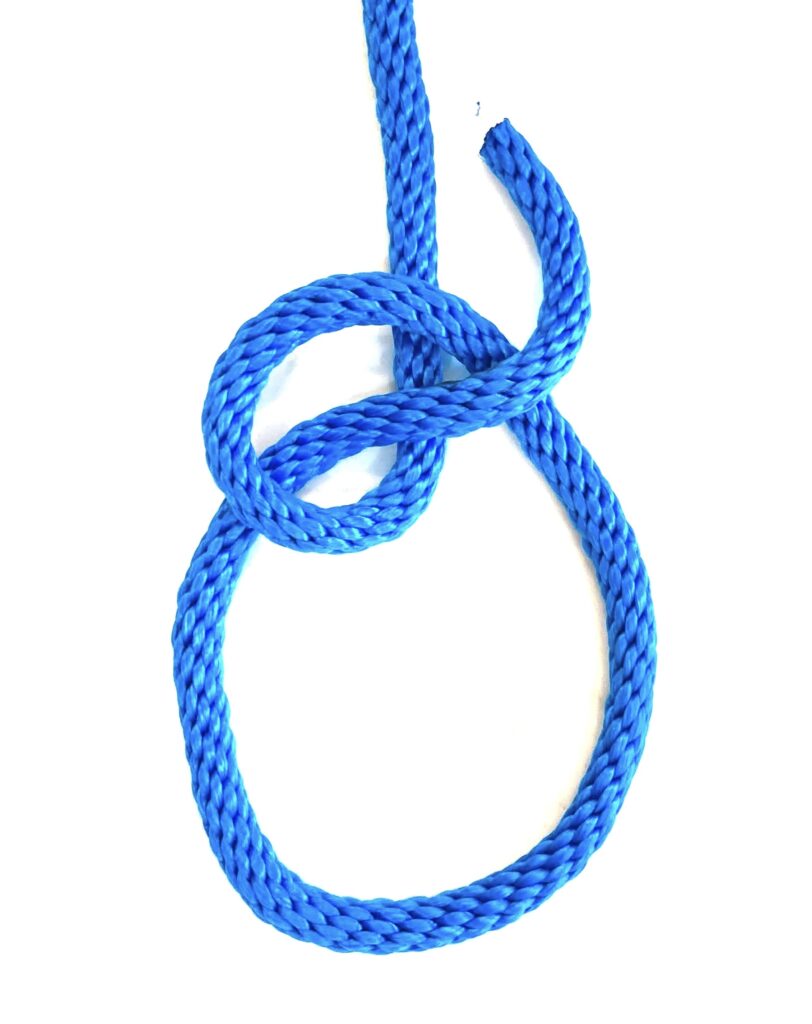
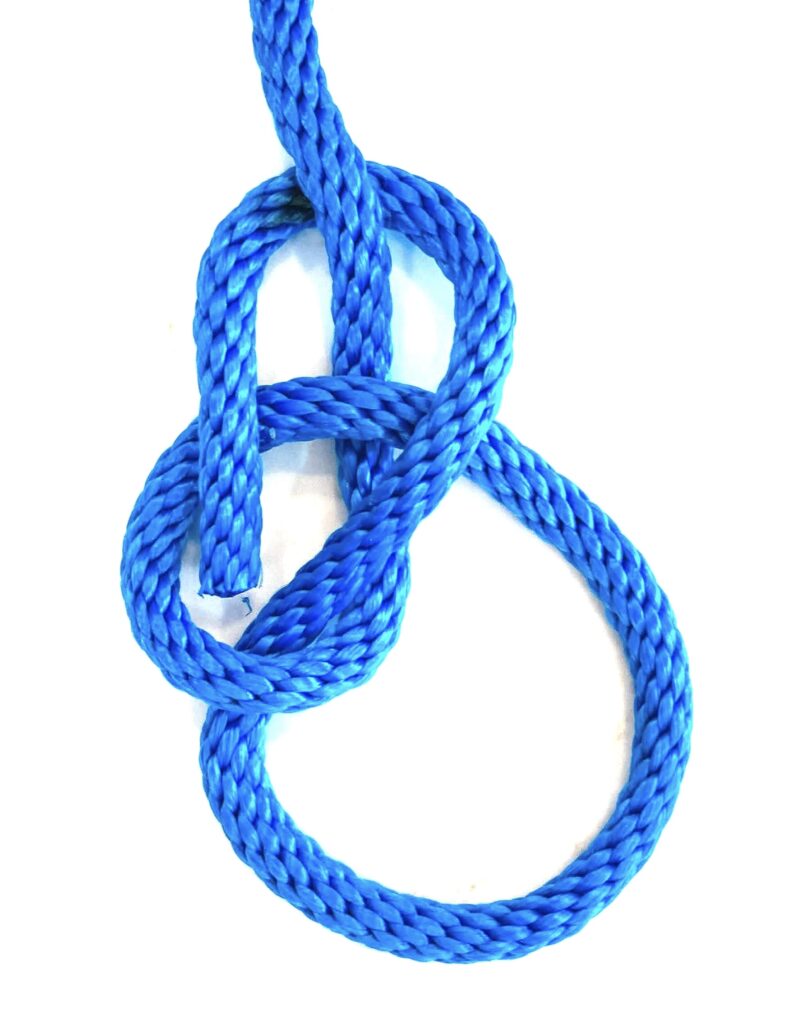
“The Rabbit comes out of the hole, around the Tree, and back in the hole . . .”
Tighten the Knot
Pull the standing part and the working end to tighten the knot, adjusting the loop size as needed.
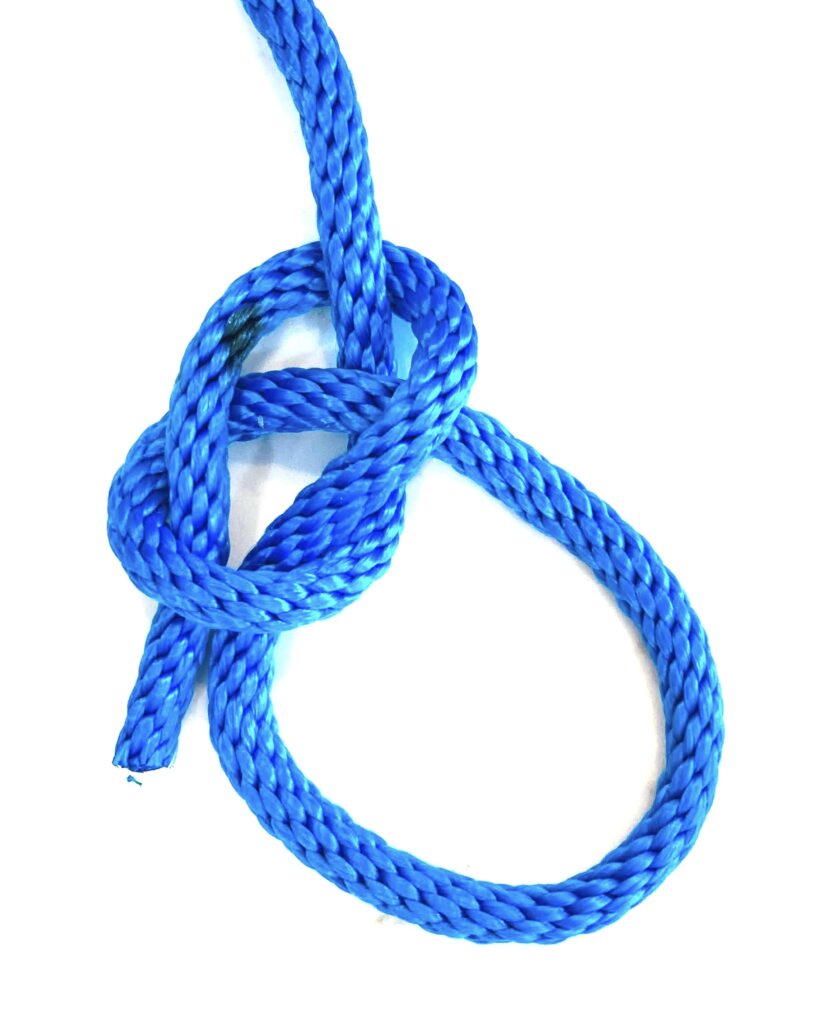
Learn to tie a Bowline: Demonstration
Learn to tie a Bowline
What’s the best type of rope for practicing knots? Find out more HERE.
Put your skills to work, checkout our accessories and gear for hikers to compliment your next journey!
How to tie the Bowline Knot. One of the most useful knots you can know. The Bowline forms a secure loop that will not jam and is easy to tie and untie. The Bowline is most commonly used for forming a fixed loop, large or small at the end of a line. Tried and tested over centuries, this knot is reliable, strong and stable. Even after severe tension is applied it is easy to untie. However, because it does untie so easily it should not be trusted in a life or death situation such as mountain climbing. It is said to retain 60% of the strength of the line in which it is tied.

